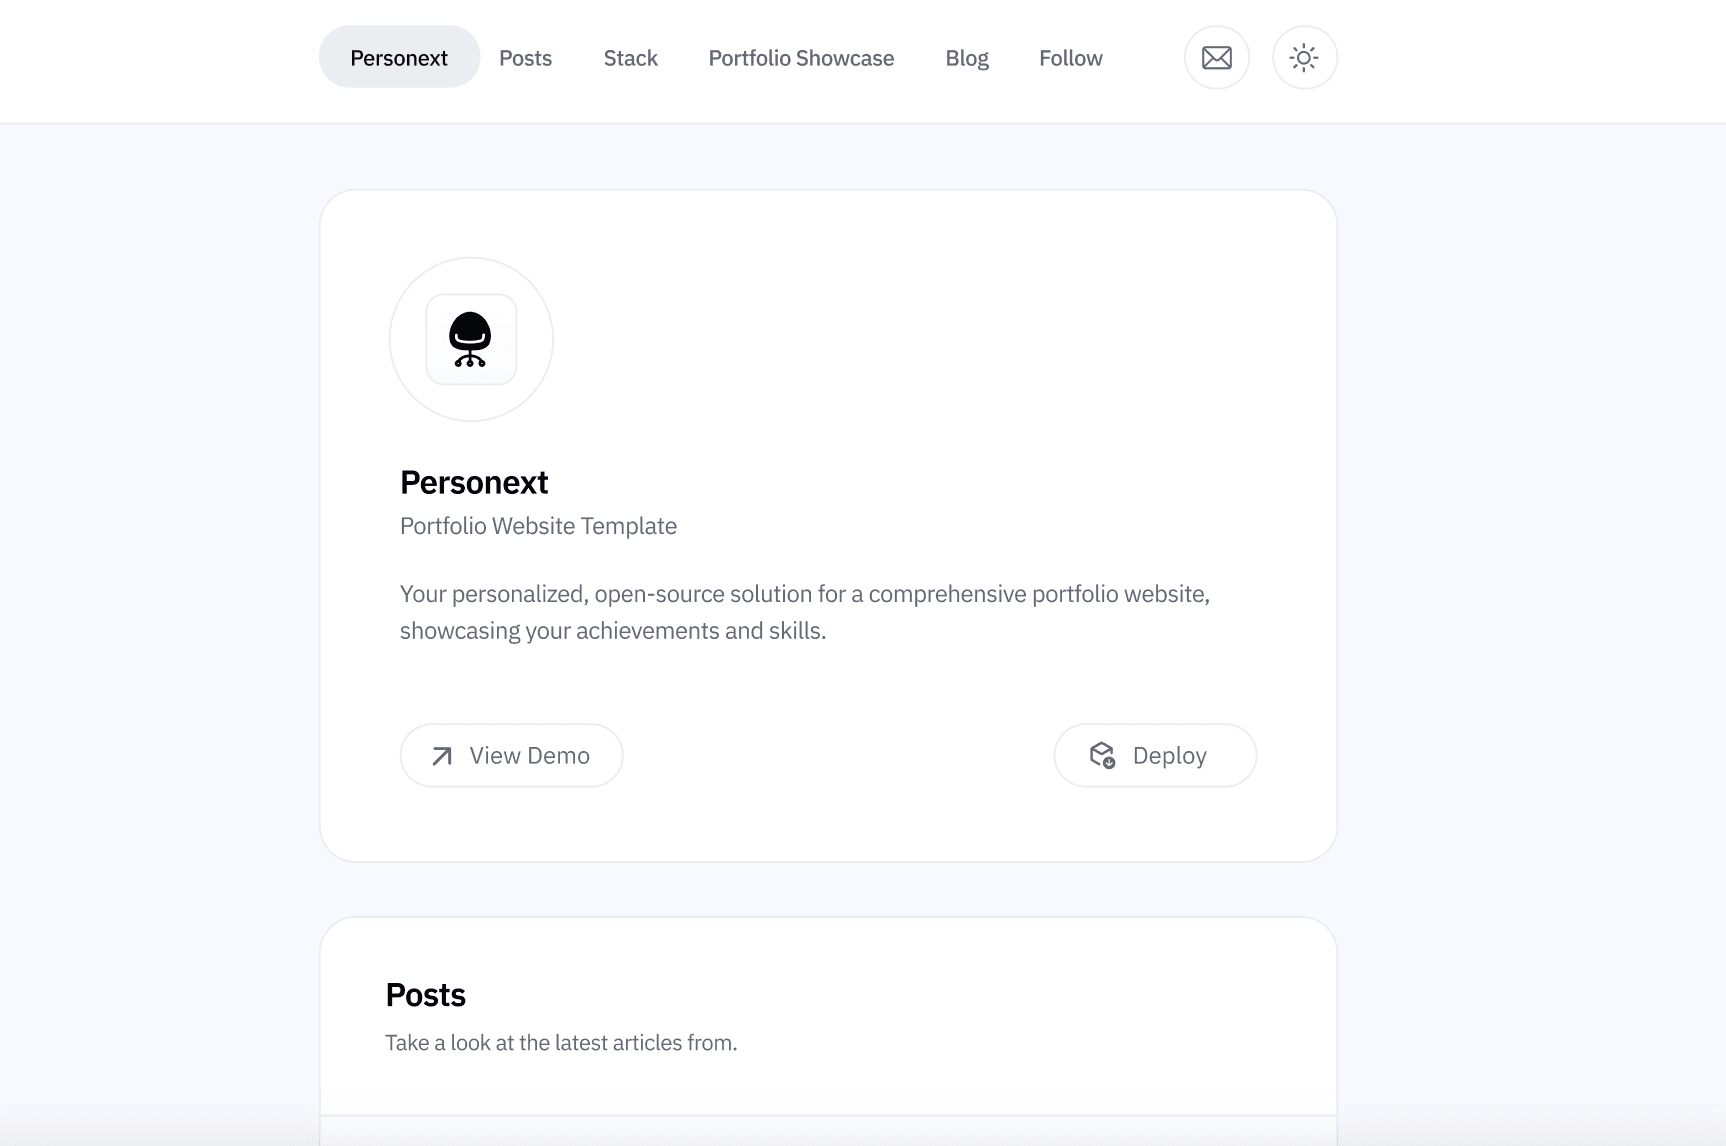
Introduction to Personext: The Ultimate Blogging Platform for Developers

In the digital age, where expressing oneself and sharing knowledge online has become ubiquitous, choosing the right platform for blogging is crucial. For developers and tech enthusiasts, Personext emerges as a beacon of innovation and ease. Built on the robust and flexible foundation of Node.js, Personext offers a seamless experience for those looking to craft a personal or professional blog.
Why Choose Personext?
Personext is not just another blogging platform; it's a specially designed toolkit for developers who cherish efficiency, customization, and control over their digital space. Whether you're documenting your coding journey, sharing project insights, or connecting with a like-minded community, Personext provides the tools to do so with ease and style.
- Ease of Deployment: With Personext, the transition from code to a live blog is simplified. The platform supports deployment on Vercel, ensuring your blog is up and running with minimal setup.
- Customization at Your Fingertips: Dive into the heart of personalization with markdown files. Personext allows you to shape your blog's look and feel, tailoring it to reflect your unique voice and style.
- Developer-Friendly Environment: Built using Node.js, Personext speaks the language of developers. It caters to those who love to tweak, optimize, and innovate.
Setting the Stage for Your Blogging Journey
Embarking on your blogging journey with Personext means joining a community of creators who value flexibility and performance. The platform's design encourages experimentation and growth, making it the perfect companion for your personal or professional branding.
In the following sections, we will guide you through the steps of setting up your development environment, launching your local Personext blog, personalizing your space, and finally, deploying your creation to the world. Stay tuned as we unfold the blueprint to launch your blog with Personext, ensuring your first post is just the beginning of a rewarding journey.
Setting Up Your Development Environment for Personext
Before you can embark on the exciting journey of creating your personal blog with Personext, you need to prepare your development environment. This setup is a one-time process that paves the way for a smooth and efficient blogging experience. Follow these steps to ensure you have everything you need.
Step 1: Install Node.js

Node.js is the backbone of Personext, providing the runtime environment required to run JavaScript code outside of a browser. Here’s how you can install it:
- Download Node.js: Visit the Node.js Official Website and download the installer for your operating system. Make sure you select a version that is 18 or higher to meet Personext's requirements.
- Run the Installer: Execute the downloaded file and follow the on-screen instructions. Opt for the LTS (Long Term Support) version for its stability and extended support.
- Verify Installation: Open your command line or terminal and type
node -vfollowed bynpm -vto check the installed versions. You should see the version numbers displayed, confirming the successful installation of Node.js and npm.
Step 2: Install Yarn
Yarn is a powerful package manager that facilitates easy dependency management for your projects. Installing Yarn is straightforward:
- Ensure Node.js is Installed: Yarn requires Node.js, so make sure it's installed on your system.
- Install Yarn Globally: Run
npm install --global yarnin your terminal. This command installs Yarn across your system, making it accessible from any project. - Verify Yarn Installation: Type
yarn --versionin your terminal. If you see the version number, congratulations, Yarn is successfully installed on your system.
Step 3: Clone Personext
With your environment ready, it’s time to get your hands on Personext:
- Clone the Repository: Run
git clone https://github.com/fabrikod/personext.gitin your terminal. This command downloads the Personext project files to your local machine. - Navigate to the Project Directory: Use
cd personextto move into the project folder.
Step 4: Install Dependencies
Personext, like any Node.js project, relies on various packages:
- Install with Yarn: Within the project directory, execute
yarn installto download and install all required dependencies.
Step 5: Run Personext Locally
You’re now set to launch your local version of Personext:
- Start the Project: Run
yarn devto start the local development server. - View Your Blog: Open your browser and go to http://localhost:3000 to see your Personext blog in action.
Congratulations! You’ve successfully set up your development environment for Personext. You're now ready to start customizing and populating your blog with content. In the next section, we’ll cover how to personalize your Personext blog to match your unique style and preferences.
Personalizing Your Personext Blog: Customization Made Easy
Creating a blog that reflects your personal style and preferences is crucial for standing out in the digital space. Personext not only simplifies the process of launching a blog but also offers extensive customization options to ensure your blog truly represents you. Here’s how you can personalize your Personext blog with ease.
Edit Markdown Files for Content
The core of your blog's content lies in its markdown files. Markdown allows you to write using an easy-to-read, easy-to-write plain text format, which is then converted into structurally valid HTML for your blog posts.
- Navigate to Markdown Files: In your Personext project, find the markdown (.md) files located in a specific directory. These files hold the content for your blog posts.
- Customize Content: Open these files in your text editor and start editing. You can add your personal stories, technical guides, project showcases, or any content you wish to share with your audience. Markdown supports various formatting options such as headers, lists, images, and links to make your posts engaging.
Personalize the Theme and Layout
Personext is designed with customization in mind. You can alter the look and feel of your blog to match your personal or brand identity.
- Modify CSS/SCSS Files: Dive into the CSS or SCSS files within your Personext project. Here, you can change the color schemes, fonts, and layout styles. Whether you prefer a minimalist design or a vibrant and colorful theme, these files are your canvas.
- Leverage Next.js for Advanced Customizations: Being built on Next.js, Personext allows for advanced customizations. You can modify or add components, create dynamic pages, or even integrate third-party APIs to enhance your blog's functionality.
Experiment with Widgets and Features
Widgets and features are the cherries on top of your blog's personalization. Consider adding a comment section, social media sharing buttons, or a newsletter signup form to engage with your audience.
- Integrate Third-Party Services: Utilize services like Disqus for comments or Mailchimp for newsletter signups. These can usually be integrated with a few lines of code or plugins.
- Develop Custom Widgets: If you have specific functionality in mind, Personext’s flexible architecture allows you to develop and integrate custom widgets. Whether it's a custom code snippet showcase or an interactive project gallery, the possibilities are endless.
As you grow and evolve, so will your blog. Personext makes it easy to update your content, theme, and features. Regular updates not only keep your blog fresh and relevant but also encourage visitors to return.
Your blog is a reflection of your journey, interests, and expertise. With Personext, personalizing your blog is not just about changing aesthetics but also about enhancing functionality to meet your unique needs. Dive into customization with confidence, knowing you have the tools to make your blog truly yours.
Deploying Your Personext Blog with Vercel: From Local to Live

Taking your Personext blog from a local project to a live website is a thrilling step in your blogging journey. Vercel, known for its simplicity and efficiency in deploying web applications, is the perfect platform to host your Personext blog. Here's how to make your blog accessible to the world.
Step 1: Sign Up for a Vercel Account
- Visit Vercel: Go to the Vercel website and click on the "Sign Up" button.
- Choose Your Sign-Up Method: You can sign up using your GitHub, GitLab, or Bitbucket account. Alternatively, you can use an email address.
- Follow the On-Screen Instructions: Complete the sign-up process by following the on-screen instructions.
Step 2: Prepare Your Personext Project for Deployment
Ensure your project is ready for deployment by checking all configurations and making sure your blog is running smoothly on your local machine.
Step 3: Connect Your Project to Vercel
- Install Vercel CLI: Optionally, you can install Vercel's Command Line Interface (CLI) by running
npm i -g vercelin your terminal for more control over the deployment process. - Deploy with Vercel: Navigate to your project directory in the terminal and run
vercelto start the deployment process. Follow the prompts to link your project to your Vercel account. - Set Project Configuration: During the deployment process, Vercel will ask you to configure your project settings. You can accept the defaults or customize as needed.
Step 4: Go Live
- Visit Your New Blog: Click on the provided URL or enter it into your browser to see your blog live on the internet.
- Share Your Blog: Don’t forget to share the link with friends, family, and potential readers. Your blog is now accessible to anyone, anywhere.
Vercel makes it easy to update your live blog. Simply make changes to your local project and redeploy using the Vercel CLI or through your Vercel dashboard. Each deployment updates your live blog with the latest changes, keeping your content fresh and engaging.
Deploying your Personext blog with Vercel signifies the beginning of a new chapter in your blogging journey. With your blog now live, you can reach a wider audience, share your knowledge, and connect with like-minded individuals across the globe. Embrace the journey, and let your blog be a testament to your passion and creativity.
